Mastering the Art of the Cut
Video editing: the magic behind transforming raw footage into polished, engaging stories. Whether you’re a seasoned filmmaker or a budding YouTuber, understanding the key steps in video editing is crucial for creating impactful content. This comprehensive guide will equip you with the knowledge and confidence to navigate the editing process, from importing your clips to exporting your last masterpiece.
Pre-Production: Planning Makes Perfect
Before diving headfirst into editing software, a little planning goes a long way. Here’s how to set yourself up for success:
Concept and Script: Having a clear idea of your video’s purpose and message is essential. Write a script or storyboard to visualize your shot sequence and flow.
Filming: Film a variety of shots, considering close-ups, wide shots, and B-roll footage to enhance your story.
Organization: Label your footage, making it easy to find specific clips during editing. Use naming conventions or file organization tools within your editing software.
Software choice: Picking the Perfect Tool
The editing software world offers a vast array of options. Consider these factors to choose the one that best suits your needs and skill level:
Beginner-Friendly: iMovie (Mac), DaVinci Resolve (Free Version), HitFilm Express (Free)
Intermediate: Adobe Premiere Pro, Final Cut Pro
Advanced: Avid Media Composer
Most editing software offers free trials, allowing you to explore their functionalities before committing.
Importing and Organizing Your Footage
Once you’ve transferred your footage to your computer, it’s time to import it into your editing software. Here’s what you can expect:
Importing: Locate the import function within your chosen software. You can browse your file system and select the clips you want to import.
Organization: Create a project within the software and give it a clear name. The editing software will then display your imported clips in a designated area, often called a “bin” or “media pool.”
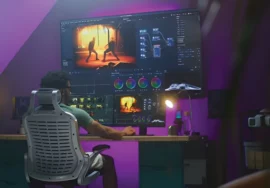
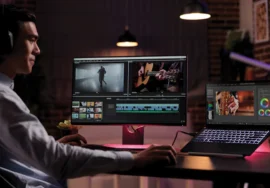
Building Your Story: The Editing Timeline
The timeline is the heart of the editing process. It’s a visual representation of your video, where you arrange and manipulate your clips to craft your narrative. Here’s a breakdown of the timeline’s key features:
Tracks: Each track is a layer in your video. You can have separate tracks for video clips, audio (like music and dialogue), and text overlays.
Clips: Drag and drop your imported clips onto the timeline tracks in the order you want them to appear in your video.
Trimming and Cutting: Use the editing tools to trim the beginning and end of your clips to remove unwanted portions. You can also split clips within the timeline for more precise editing.
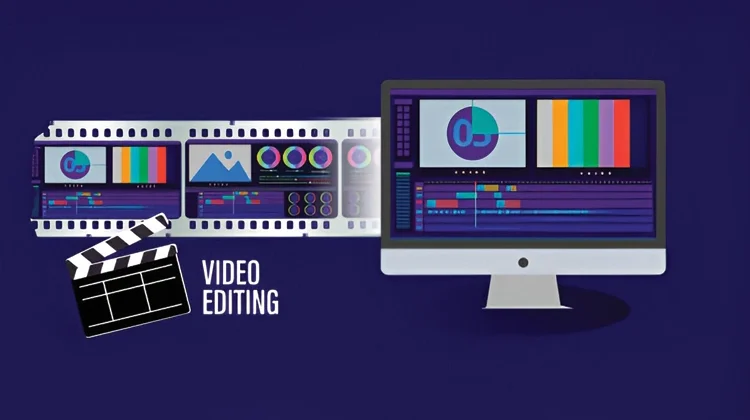
Mastering the Cut: Essential Editing Techniques
Now comes the fun part–transforming your raw footage into a cohesive whole! Here are the fundamental editing techniques to master:
Cutting: Removing unnecessary sections of footage to keep a good pace and keep your audience engaged.
Transitions: Adding subtle visual effects between cuts to create a smooth flow. Use transitions sparingly to avoid overwhelming viewers.
J-Cuts and L-Cuts: Advanced editing techniques for seamless audio transitions between clips, particularly useful in interview footage.
Bringing it to Life: Adding Audio and Visual Polish
Beyond basic cuts, you can elevate your video with additional elements:
Audio: Add background music to set the mood and enhance the emotional impact of your story. Include clear dialogue or voiceover narration to guide your audience.
Color Grading: Adjust the color tones of your footage for a specific look and feel. Color grading can add a professional touch and establish a consistent visual style.
Visual Effects (VFX): For advanced editing, consider adding VFX-like motion graphics or animations to enhance specific sections of your video.
Refining Your Work: Exporting and Sharing
Once you’re happy with your edit, it’s time to export your video to a format suitable for your intended platform. Here are some key considerations:
Export Settings: Choose an appropriate video resolution and file size depending on where you plan to share your video (e.g., YouTube, social media platforms).
File Format: Select a widely compatible format like MP4 or MOV for online sharing.
Optimization: Many editing software programs offer export optimization settings to balance video quality and file size.
Bonus Tip: Always back up your project files throughout the editing process to avoid data loss!
With practice and dedication, you’ll be wielding the editing tools like a pro. Remember, video editing is an art form, so don’t be afraid to experiment and develop your unique style. Keep these steps in mind, explore the vast capabilities of your editing software, and most importantly, have fun creating compelling video content.
Beyond the Basics: Advanced Editing Techniques to Take Your Videos to the Next Level
While the core principles covered so far will equip you to create solid edits, there’s always room to refine your skills and explore more advanced techniques. Here’s a glimpse into some powerful tools that can elevate your video editing game:
Multicam Editing: Have you ever filmed an event from multiple angles? Multicam editing allows you to seamlessly switch between camera views, creating a dynamic and engaging viewing experience.
Motion Tracking: This technique lets you attach graphic elements, text, or even video overlays to a specific moving object within your footage. Imagine tracking a runner’s shoes and adding a speedometer that dynamically adjusts to their pace!
Color Correction: While color grading adds a stylistic touch, color correction focuses on fixing specific color imbalances or inconsistencies within your footage. This ensures a polished and professional look.
Masking and Compositing: Want to place your interview subjects in a virtual environment without actually filming them there? Masking and compositing allow you to isolate specific elements within a clip and combine them with other video or image layers, opening doors for creative storytelling.
Sharpening Your Skills: Resources for Aspiring Video Editors
The editing journey doesn’t end here! Here are some valuable resources to help you refine your skills and stay updated on the latest trends:
Online Tutorials: A wealth of free and paid video editing tutorials exist on platforms like YouTube and Skillshare. These tutorials cover a wide range of editing techniques and software-specific workflows.
Industry Blogs and Websites: Follow blogs and websites dedicated to video editing. They offer valuable insights, tips, and tricks from professional editors, keeping you informed about industry trends and software updates.
Online Communities: Connect with other video editors through online forums or social media groups. Share your work, ask questions, and learn from the experiences of fellow editors.
Embrace the Edit: Conclusion
Video editing empowers you to transform raw footage into captivating stories. By mastering the core steps, exploring advanced techniques, and continuously seeking to learn, you’ll be well on your way to becoming a skilled video editor. Remember, the editing process is a journey of exploration and experimentation. So, grab your editing software, unleash your creativity, and get ready to share your unique vision with the world!